How To Unblock Your Sink in Minutes
Blocked sinks can be a real pain and always seem to happen at the most inopportune moments. But fret not! Whether it’s due to food waste, grease, or hair, here are three hassle-free strategies to get your sink draining freely again:
1. The Reliable Plunger
This often simple device is your first defence against a stubbornly blocked sink.
Prepare and Protect
Firstly, prepare for the task. Slip on your rubber gloves—safety and hygiene should always be your priority. Then, ensure the sink is free from any visible debris. This initial step sets the stage for a successful sink rescue operation.
The Plunging Action
Now, let’s start plunging. Ensure there is enough water in the sink to cover the plunger base, forming a good seal. Apply a series of forceful plunges to generate pressure that can dislodge the blockage. Image performing CPR to Staying Alive by the Bee Gees!
Enhanced Plunging
If the blockage stands its ground, it’s time to bring in reinforcements: caustic soda crystals. Mix them with hot water by adding the crystals to the water, not the other way around, and pour the solution into the sink. This addition can help dissolve stubborn residue, aiding your plunging efforts but be aware the liquid is highly corrosive.
2. The Wonders of Baking Soda
If the plunger hasn’t managed to persuade your blockage to move along, baking soda may be your next hero. An everyday store cupboard ingredient, it can play a significant role in clearing your sink.
Initial Cleaning
Start with a thorough cleaning of your sink drain. Clear out any visible debris—this pre-emptive measure ensures the baking soda can reach the blockage.
The Baking Soda Treatment
Pour a generous helping of baking soda down the sink, followed by boiling water. The combination can work miracles, acting as a dissolving agent for the blockage. Repeat as Needed
Don’t be disheartened if your first attempt doesn’t quite do the trick. This process can be repeated, and persistence can often win the day.
3. Investigating the U-Bend, Bottle Trap or P-Trap
If the above methods don’t succeed, it might be time to venture into the hidden depths of your sink’s plumbing—the U-bend or Trap.
Preparation
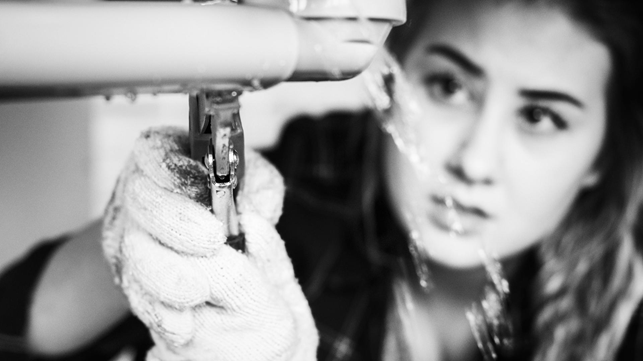
Arm yourself with a bucket and your trusty gloves. Position your bucket under the U-bend to catch any water or debris that might escape during your operation.
Unscrew and Clean
Unscrew the U-bend. This can usually be done by hand and doesn’t require tools. Once it’s free, give it a good clean, not in the sink it has come from, though! Any blockages hiding here need to be entirely removed during this process.
Reassemble and Test
After cleaning, reattach the U-bend. Now comes the moment of truth—run your tap, and hopefully, you’ll see the water flow smoothly down the drain.
If these home methods fail, it might be time to call the professional drain unblockers. Some blockages, particularly those that are deeper in the system, may require the expertise of a qualified plumber.
Unblocking your sink doesn’t have to be an awful task. With these three strategies, you’re well-equipped to handle most sink blockage that comes your way. Remember, patience is key in these operations, and sometimes, persistence is the ultimate unblocker.


